
(iPhone, iPad, iPod Touch) MAC instructions coming soon.
Download the file ⇒ HERE
Installing the certificate on your iOS device is quick and simple.
We recommend you print these instructions, so you have a reference to look at while installing.
- Click on the download link at the top of the page.
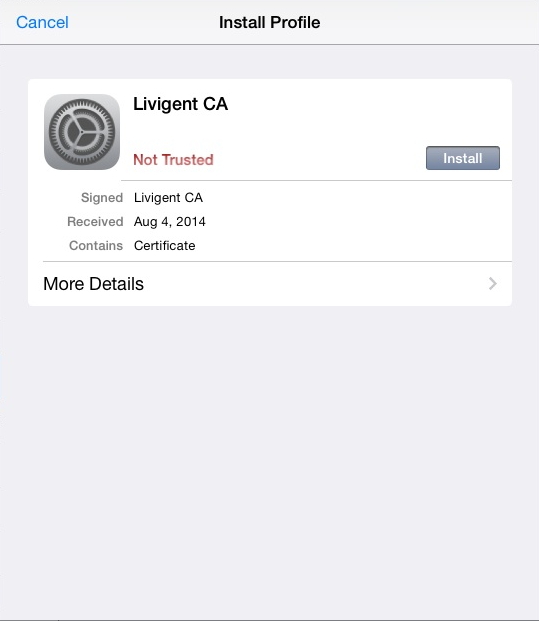
- The following window will open:

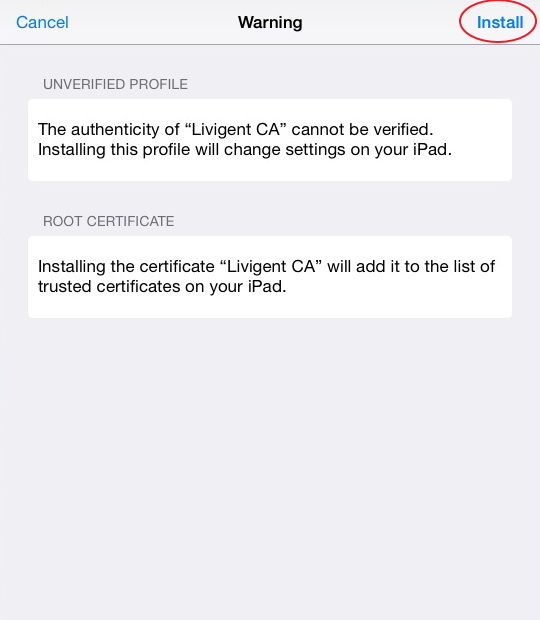
Click on the button. - A warning window will open. Click on
- The certificate will be installed, and the confirmation screen will appear.
Click on to close the window and return to the browser.
- Your device is now Jnet SSL compliant.
 button.
 to close the window and return to the browser.
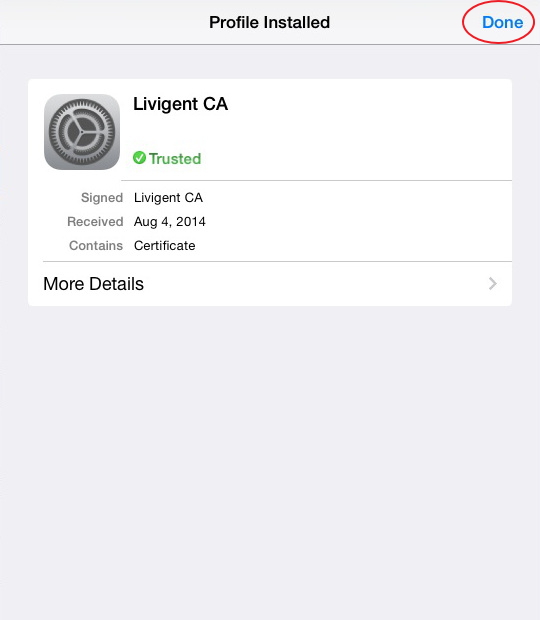
You will now need to edit your WIFI settings on your device.
- go to settings and tap on the arrow next to your WIFI connection.
- Scroll down to the bottom of the screen to HTTP Proxy and Select Manual
- Fill in the Server text box: proxy.thejnet.com
- In the Port text box enter: 8080
NOTE:
In iOS 10.3 and later,You must manually turn on trust for thejnet certificate.

- go to Settings > General > About > Certificate Trust Settings.
- Under “Enable full trust for root certificates,” turn on trust for the certificate.