
Manually Installing the certificate on your computer
We suggest reviewing these instructions beforehand.
You may want to print them for reference during the installation process
TheJnet-2020.crt TheJnet-2020.der
- Click on any of the download links above
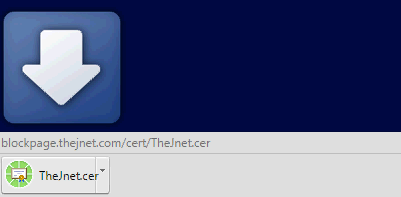
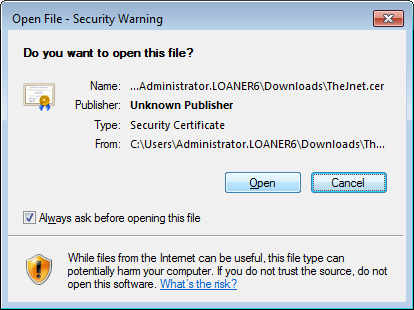
Windows will pop up a warning message, asking if you want to open the file. - The Download icon will briefly show at the bottom-right corner of the screen, and Chrome will start the download.

- Wait until the green timer circle fills up and vanishes, then click on the button for the downloaded certificate.
Click on “Open”.

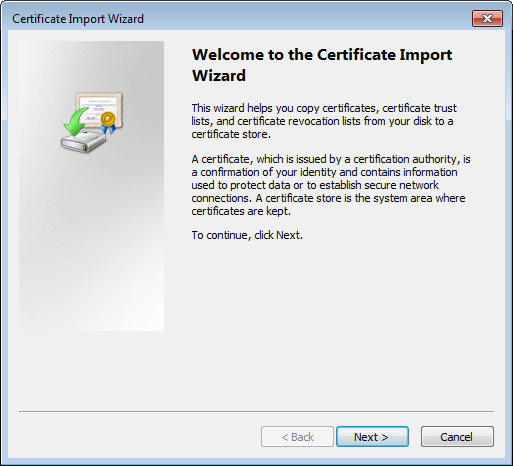
- The certificate will open
Click on - The Certificate Installation Wizard wil open:
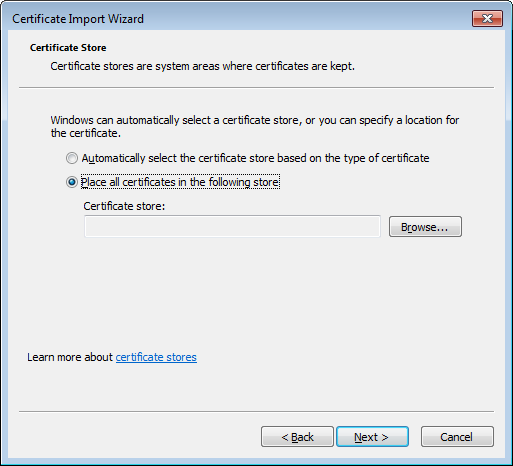
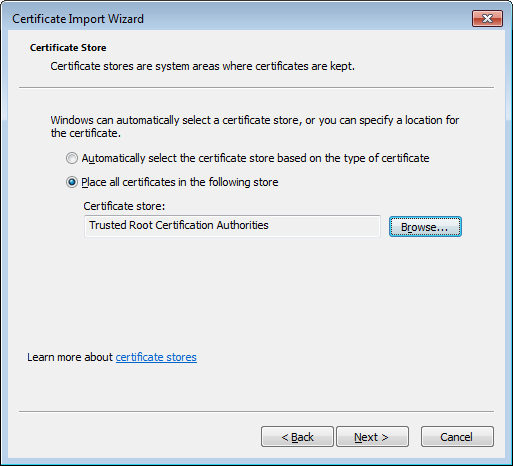
Click on. - In the next screen, select the option that says “Place all certificates in the following store“, Then click on
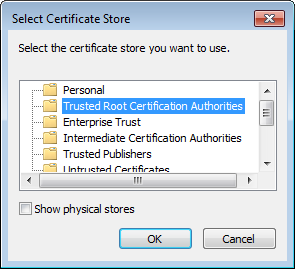
- In the selection window, select the item titled “Trusted Root Certificate Authorities”
Click on. - You will return to the previous screen, and your selection will show there.
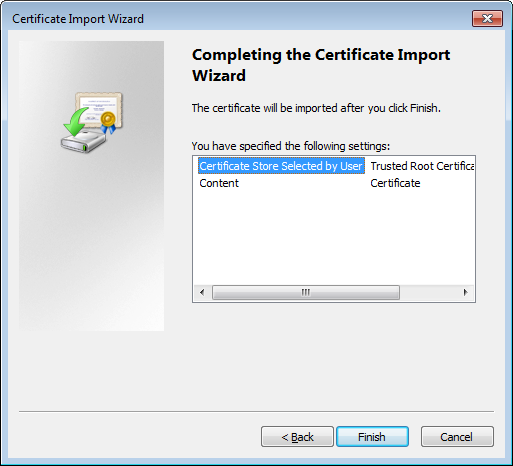
Click on. - The last screen of the Wizard will open, allowing you to review what will be done:
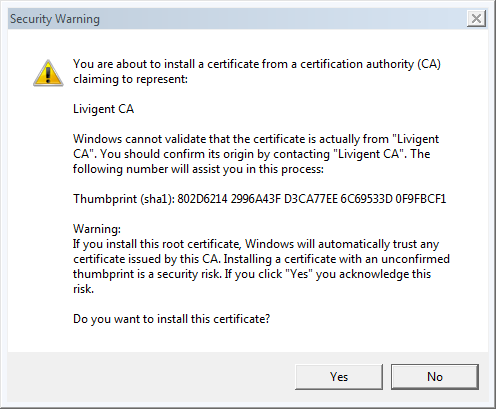
Click on. - Windows will pop up a security warning:
Click on. - The certificate will be installed, and a confirmation message will show:
Click on. - In the Certificate window, click on to close the window.
- Congratulations. Your computer is now SSL Compliant.


 .
.
 .
.
 .
.
 .
.