Installing Jnet On-the-Go! Pro for Android.
Note: on newer versions of Android, you may need to disable play protect.
Turn Google Play Protect off or back on
Open your Android device’s Google Play Store app |
| Tap Menu |
| Turn Scan device for security threats on or off. |
- Obtain the software via http://jnetonthego.com/help-and-support/#otg_downloads.
- Choose jnet on the go for Samsung devices or Jnet OnTheGo for Android for all other Android devices.
- Tap on “install” to download and install the app. Accept the requirements for the app.
- Once the app is installed, tap “Open” to run it.
- In the first screen, enter the provider code 8999, and tap “Next”.
The app will display the Jnet logo to verify that you have chosen the correct code. Tap “Next” again.
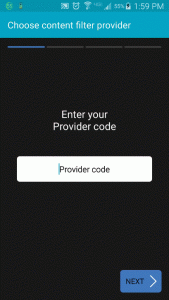
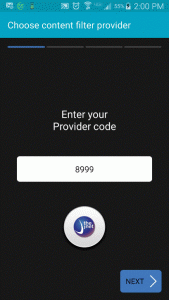
- The app will request that you allow certain admin permissions. Tap “Next” to go to that screen, and then tap “Activate” to allow them.
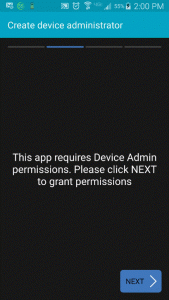
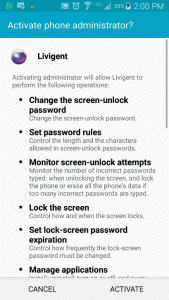
Note: The list of permissions is long, and is deliberately designed to look scary. Rest assured that the app will not do any of the things listed there. The permissions are required to enable us to prevent unauthorized removal of the app.
- To use the app, your device must have a PIN lock code.
- The next screen will request that you create such a code. This is true even if you already have a PIN or password lock on the device. Swipe codes are not valid.
- please enter the PIN number you chose (you can re-enter the one you already have), and verify it. Then tap “Next”.
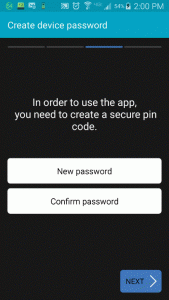
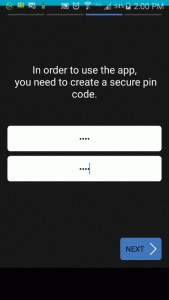
- For the filtering to work properly, you need to install a security certificate. Tap “Next” to go to the Installation screen. On that screen, tap “OK”
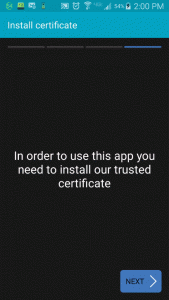
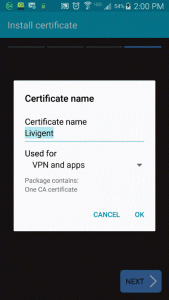
- Enter the user name and password you got in the Email. Tap “Check Credentials” to verify the information is correct. If it is, you will receive a confirmation message.
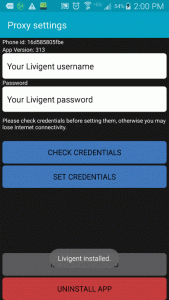
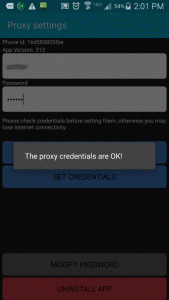
- Tap the “Back” button on your device to clear this screen, and then tap “Set Credentials”. A window will open, asking you to allow the VPN connection. Tap “OK”.
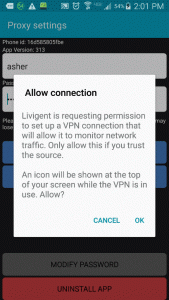
- You will be returned to the Livigent app, which you can now close. You are now filtered through Jnet.
Note:
- The app will display a small key icon on the notification bar.
 That key shows you that the connection to the filter is active. When expanding the Notification Bar, you will see a fuller notification about this.
You cannot remove this notification.
- After installation, and every time you restart your device, you will get a warning icon in the Notification Bar:
 Expanding the Notification will show the following warning:
This warning is due to the Security Certificate that was installed during the setup process. This is normal, and you do not need to be worried about it. This notification can be swiped closed, and it will not return until the next time you restart the device.


